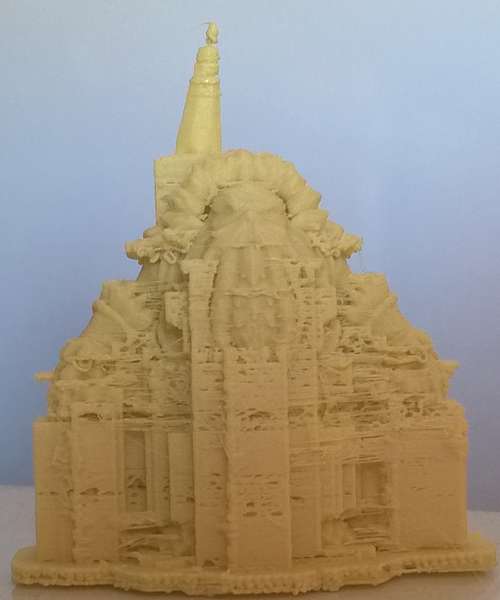
Direct 3D print of a ZBrush model
Awesome model by Tay Allen
When I first saw this amazing design from Tay Allen on artstation, I knew it would be that nice printed and painted on my table !
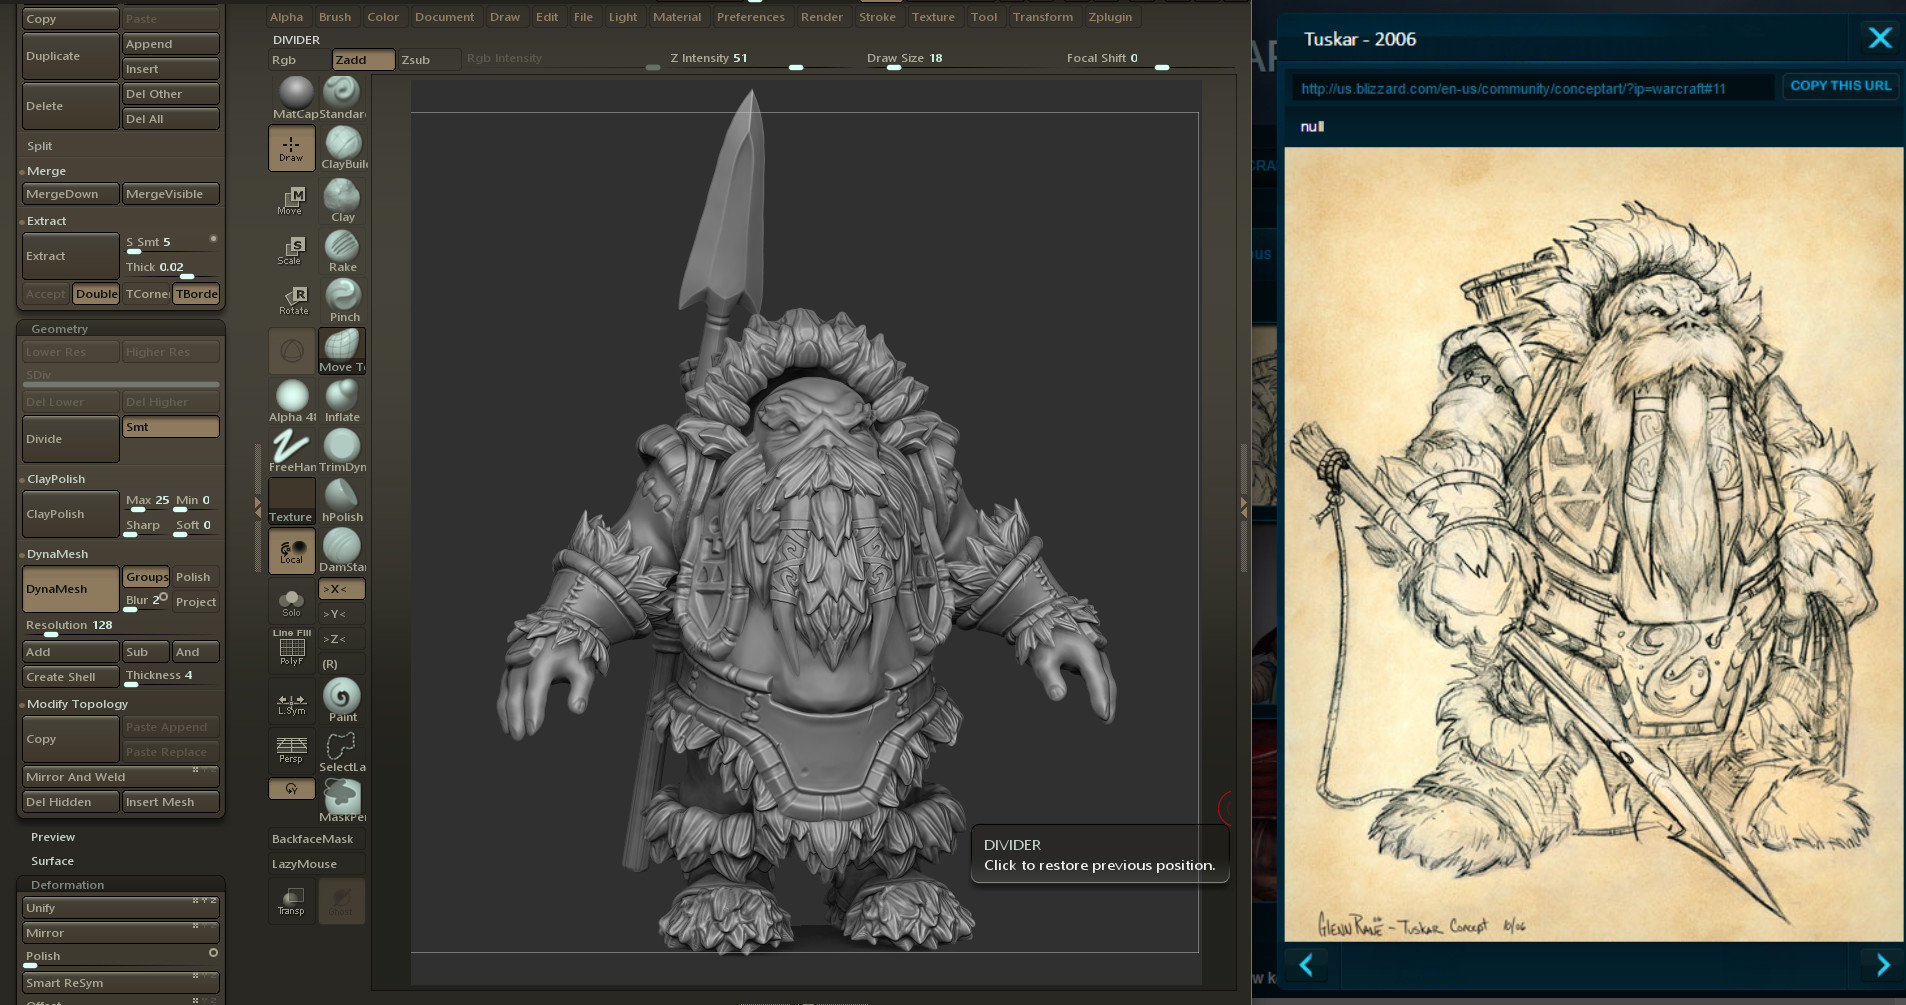
So let's try to print the 175 MB .obj raw model, right out a basic export from ZBrush.
Prepare to print it !
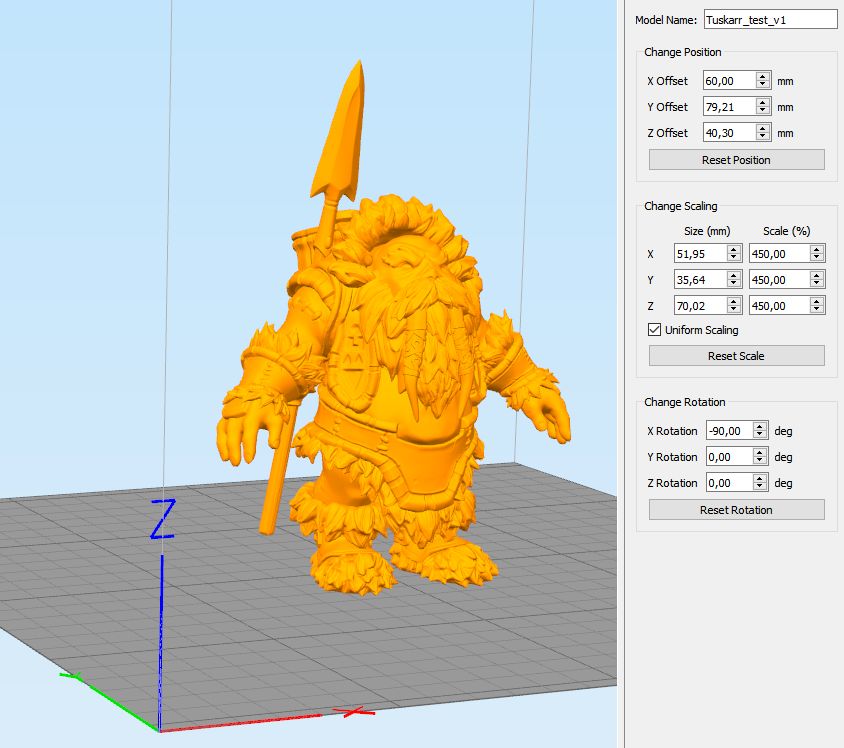
Orientation
Model was imported lying on ground, so I just applied a -90° X rotation to get a standing model.
Scaling
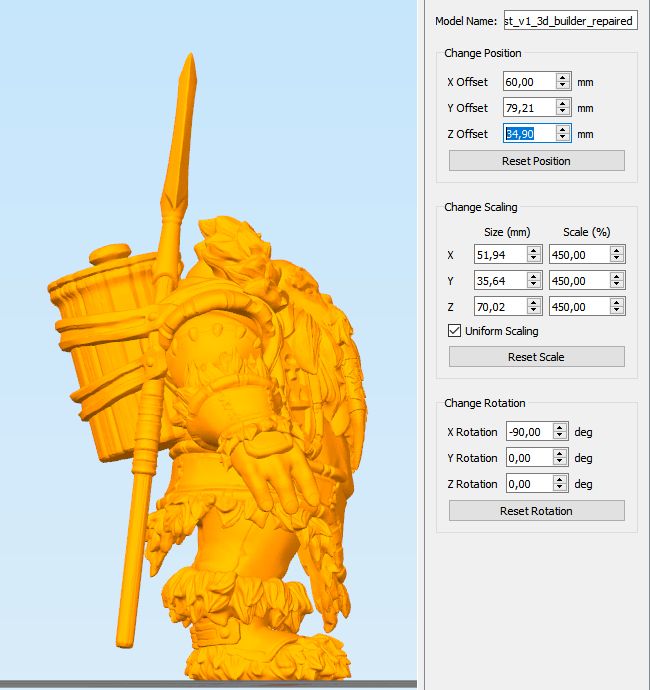
Target scale was decided to be 54mm scale. So saying this guy should be 1,60m tall in real life, he should be 50mm tall guy as a miniature. Screenshot from homemade scaling tool:
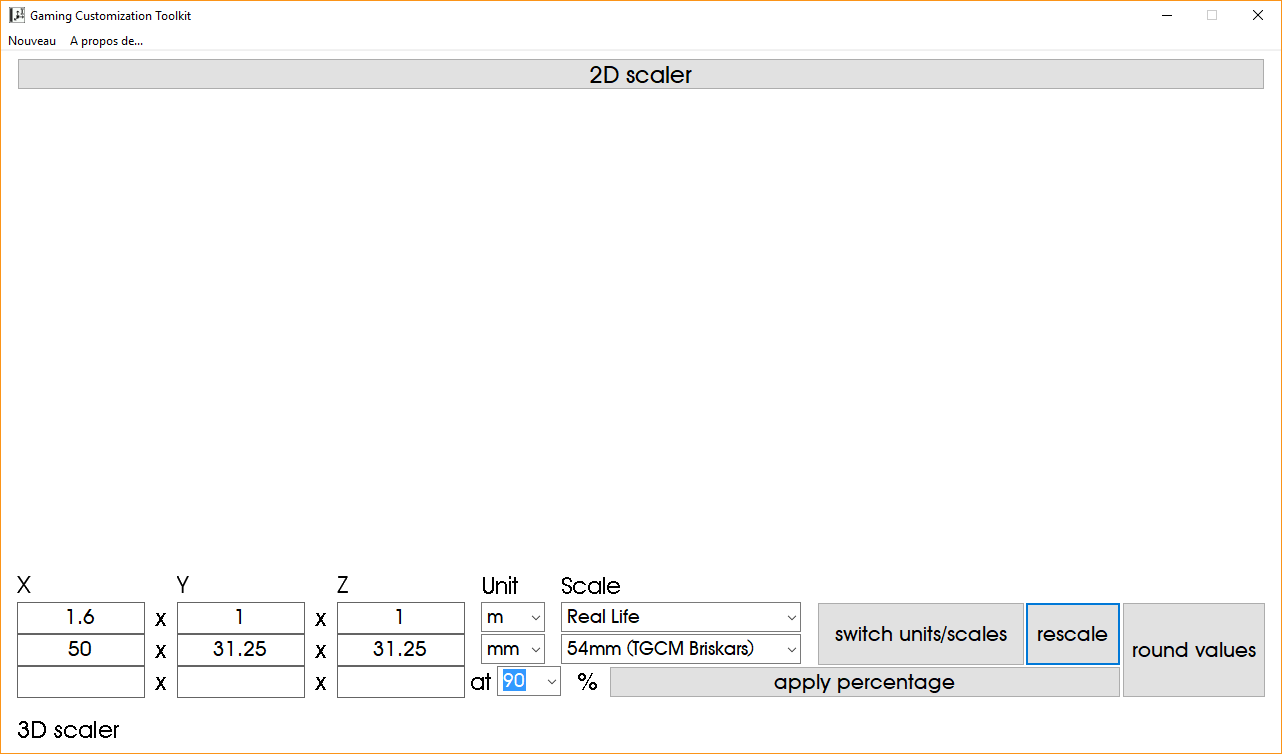
This resulted a 450% scale change regarding the way Simplify3D imported raw model.
So first easy part done, let's try to slice !
Slicing
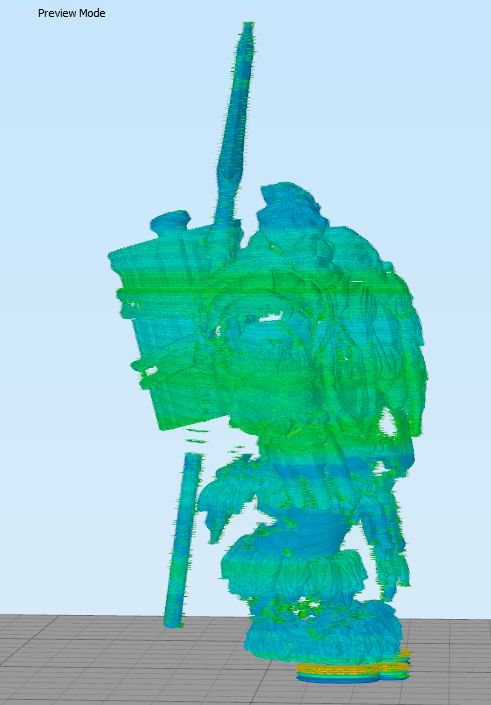
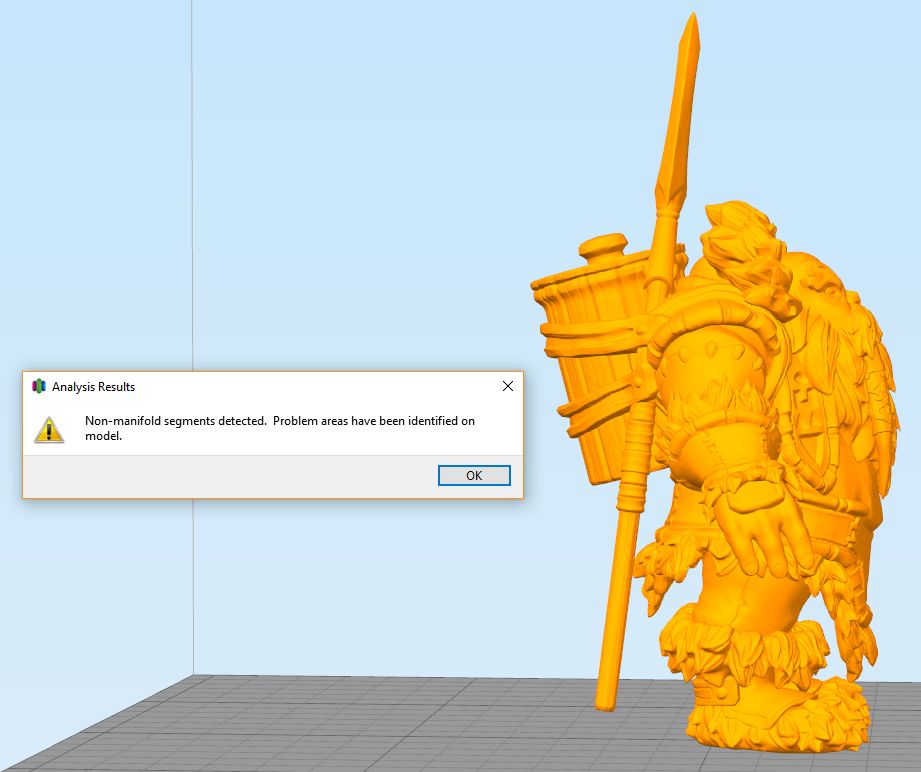
Holes issue
First optimistic trial pressing "Prepare to Print!" resulted a situation where model presents holes issue:
I tried some Simplify3D "identify & repair" tools. The identify tools said some problems in model, but the repair tools just failed working on such a big file running in endless processing.
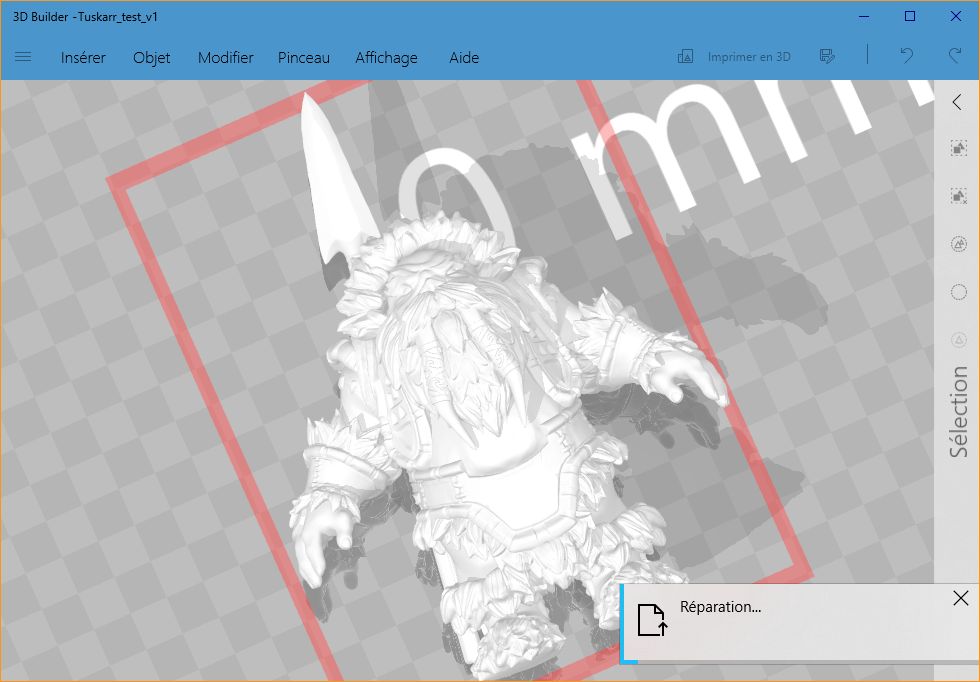
I also tried Autodesk Meshmixer free software but it was also painful trying to solve issues on a such a raw model.
But a few days later the solution appeared. It was about just double-clicking model so it opens with Microsoft 3D Builder free tool. 3D Builder auto-detected some issues to repair. So I just clicked "Repair":
After 1 minute, operation was completed and I exported repaired model. It was a very pleasant surprise to see model was now perfect for slicing in Simplify3D !

But wait, you can see a raft issue creation just below the guy foots.
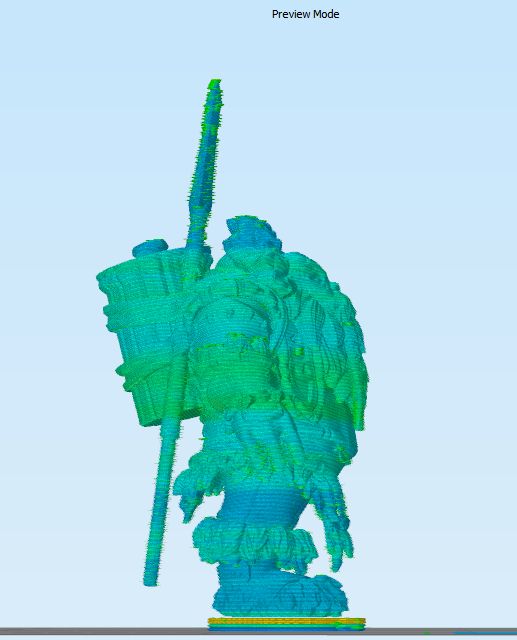
Raft issue
I already encountered this issue on some 3D print models (even commercial ones) so I knew it can be solved without modifying the model (flatten bottom of the foots). A simple solution is a trick just applying a small Z negative offset:
So now result is fully correct:
Print it !
About the print
- Printer is Kodama Trinus printer (the $250 kickstarter edition)
- Vertical resolution is 0,1mm
- Horizontal resolution is 0,2mm
- Material is Polymaker Polysmooth
- Total printing time was about 8 hours
Raw print result
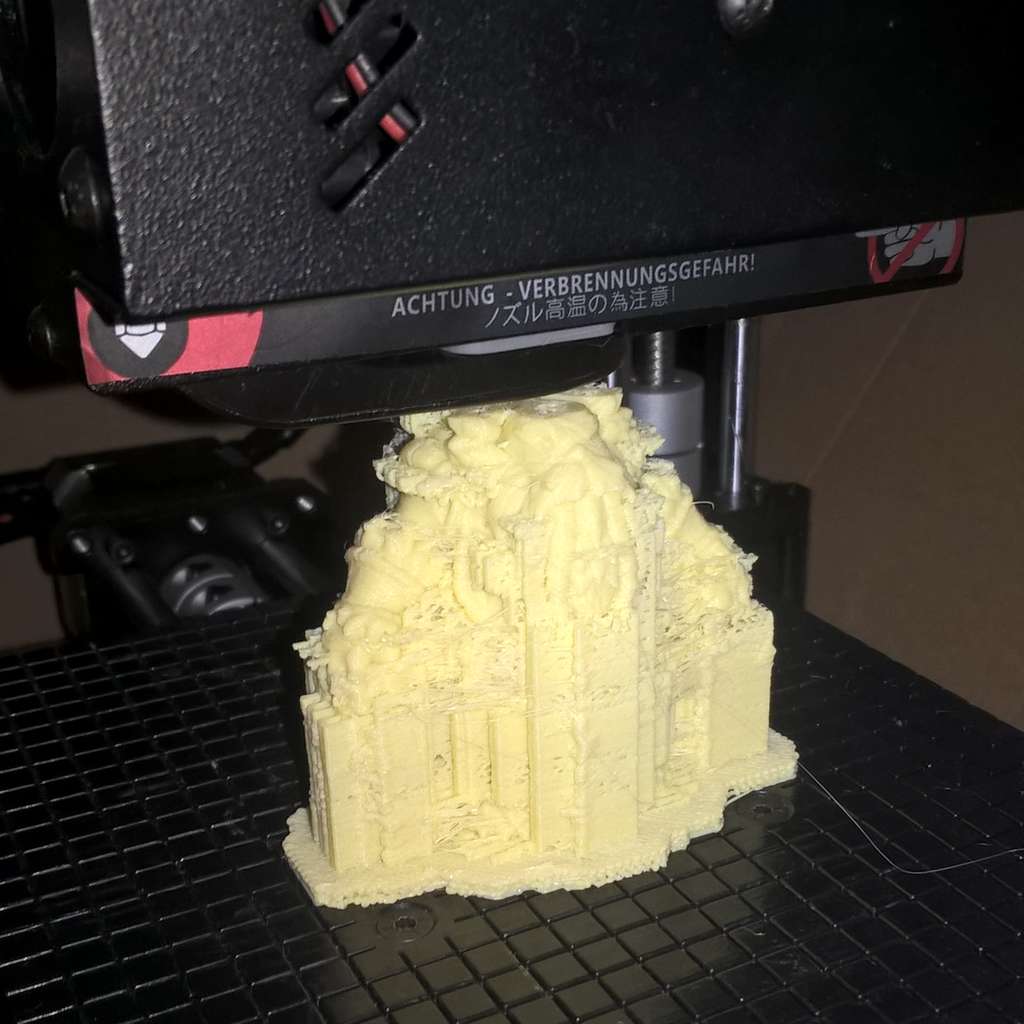
No major issue on printed model, but I noticed:
- Holes appearing on printed piece but only appearing on supports. So not a problem
- A printed lance's blade quality issue (due to high print speed).
- Difficulties to remove supports that is too tight (was 1 mm resolution). So should try another software to generate supports or print with larger supports.
Cleaned print result
Photo to be inserted
Polyshed result
Photo to be inserted
Painted result
White prime coated and then printed with acrylic paints.
Photo to be inserted